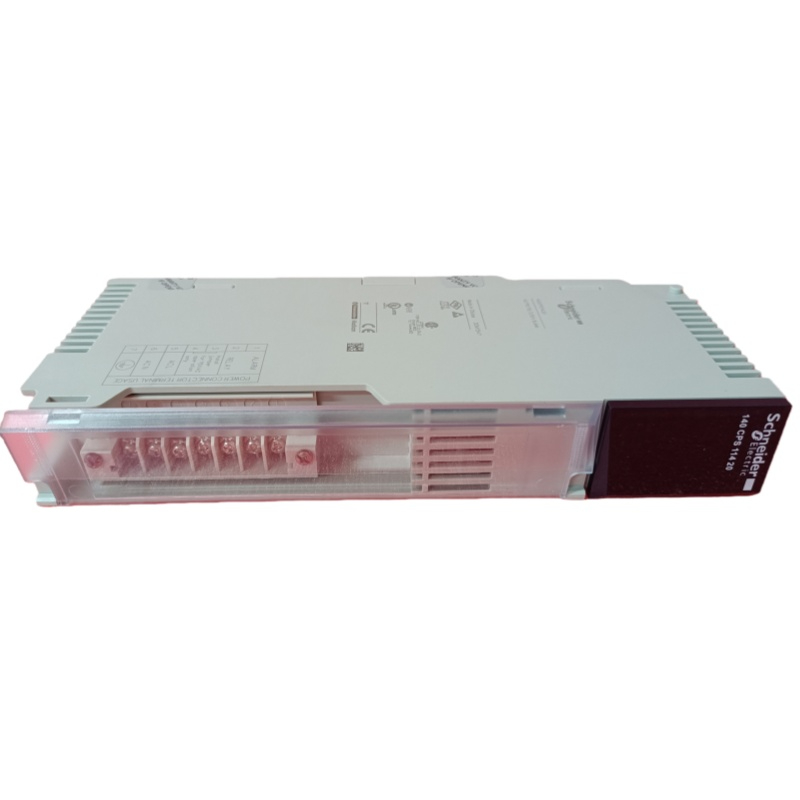
In today's competitive manufacturing landscape, equipment reliability and maintainability are directly linked to a company's profitability. As a critical bridge between the control system and field devices, the selection and configuration of output modules cannot be overlooked. Schneider Electric's Modicon TSXDSY16T2 16-point Discrete Output Module, with its excellent design, has become the preferred choice for many engineers upgrading or building new control systems. This article provides a practical guide from the perspectives of installation, configuration, and system integration.
Understanding the Module's Mechanical and Electrical Design
Before installing the TSXDSY16T2 module into a rack, understanding its physical and electrical interfaces is the first step to success.
-
Module Structure and Installation: This module is designed to snap into the local or extended I/O racks of Schneider's Modicon TSX Premium series PLCs. The installation process is straightforward: ensure the rack power is off, align the module with the rails, and firmly push it into the backplane connector until the latch clicks into place. Its compact size conforms to the standard module width, facilitating high-density layout planning within the rack.
-
Wiring Considerations: The module's 16 output points are divided into two groups (typically 8 points per group), with each group sharing a common terminal (COM). This grouped design simplifies power distribution. When wiring, be sure to use appropriately sized conductors and ensure that the rated voltage (12-24V DC) and total current of all field loads (such as valves, indicator lights) are within the module's carrying capacity. It is strongly recommended to equip each output circuit or each output group with independent external fuses. This provides an additional layer of protection against short circuits and overcurrent, representing a best practice for ensuring the module's long-term stable operation.
-
Power Supply and Grounding Requirements: The DC power supply for the output loads should have good stability and low ripple. Ensure that the ground of the load power supply is reliably connected to the ground of the control system rack at a single point, following proper grounding practices to minimize electrical noise and potential ground loop interference.
Configuration and Diagnostics in Software
Once the hardware installation is complete, the next step is to configure it within Schneider's programming environment.
-
Engineering Software Integration: Using Schneider Electric's Unity Pro or the older PL7 Pro software, you can easily configure the TSXDSY16T2 module. In the project's hardware configuration tree within the software, locate the corresponding rack slot and select the "TSXDSY16T2" module model from the hardware catalog. The software will automatically recognize the module and assign the corresponding I/O address mapping.
-
Address Mapping and Programming: After configuration, the addresses for the module's 16 output points in the program (e.g., %Q0.0 to %Q0.15) are determined. In the control logic (Ladder Diagram, Function Block Diagram, etc.), you can directly write to these addresses to control the on/off state of field devices. The high-speed nature of transistor outputs allows you to implement precise pulse outputs or fast sequential control.
-
Powerful Diagnostic Functions: The module's real-time status can be monitored via the software. In addition to the physical LED indicators corresponding to each output point, the software typically provides more detailed diagnostic information. For example, you can monitor backplane communication status, configuration verification results, etc., providing a powerful tool for predictive maintenance and rapid fault troubleshooting.
Best Practices and Maintenance Recommendations
To maximize the service life and system reliability of the TSXDSY16T2 module, consider the following recommendations:
-
Environmental Considerations: Although the module is designed for industrial environments, efforts should still be made to avoid installation in locations with extreme temperatures, high humidity, or excessive dust. Ensure the control cabinet has adequate heat dissipation and the appropriate protection rating.
-
Spare Parts Strategy: For critical production lines, consider stocking critical spare parts, including the TSXDSY16T2 module. The module's plug-and-play characteristic allows replacement work to be completed with minimal downtime.
-
Documentation: Maintain complete system documentation, including hardware layout diagrams, wiring diagrams, and I/O address tables. This will save significant time for any future modifications or fault diagnosis.
-
Upgrade Path: As technology evolves, if you plan to upgrade from a legacy system, Schneider Electric provides a clear migration path. Understanding the compatibility of the TSXDSY16T2 with the newer generation of Modicon series products is helpful for formulating a long-term automation strategy.
Conclusion
The Schneider TSXDSY16T2 Discrete Output Module represents the combination of practicality and reliability in industrial control I/O technology. Its intuitive installation process, flexible software integration, and powerful diagnostic capabilities make it not only easy to deploy but also easy to maintain over the long term. By following the correct installation guidelines and best practices, you can fully leverage the performance of this module, thereby building a responsive and rock-solid control output layer for your machinery or production line. Investing in proven components like the TSXDSY16T2 is essentially an investment in the continuous, stable operation of your production system and in reducing the total cost of ownership.